Missile Launcher: Difference between revisions
Mastergalen (talk | contribs) No edit summary |
Mastergalen (talk | contribs) |
||
| Line 63: | Line 63: | ||
=== AssemblyLine / RedPower === | === AssemblyLine / RedPower === | ||
The launcher platform inventory can be accessed via the central bottom part of the platform. | {{msgbox | ||
|title=RedPower is not included in [[Voltz]] | |||
|type=warning | |||
}} | |||
The launcher platform inventory can be accessed via the central bottom part of the platform. [[Manipulator]]s ([[Assembly Line]]) or Tubes (RedPower) can feed Missiles into the platform from below automatically rearming the missile launcher. | |||
== Video Tutorial == | == Video Tutorial == | ||
Revision as of 22:43, 25 January 2013
The missile launcher is a complex machine created out of three different components.
- The launcher platform
- The launcher control panel
- The launcher support frame
Each component has three tiers and (of course) the higher the tier the better that component will perform. The missile launcher has to have at least a launcher platform and a launcher screen in order to function. The launcher screen has to be back facing the launcher platform in order for them to connect, and the launcher support frame has to be adjacent to the launcher platform in order to have an effect on the missile launcher.
Contents
Tier One
This is the most basic launcher setup. Enables you to set the desired coordinates for the missile to hit, nothing else. Has a 30 block off accuracy
Setup
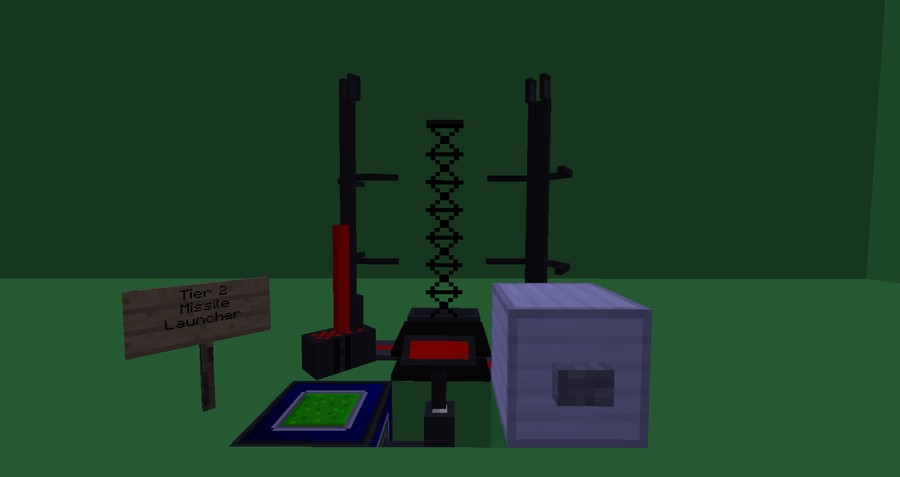
Tier Two
Enables you to specify a detonation height and is more accurate than Tier 1. Compatible with the Radar Gun.
Setup
Tier Three
A frequency can be set for it so that a Laser Designator can be used to call air strike. Has perfect accuracy.
Setup
Using a Missile Launcher
- To use a missile launcher, you must first have a decent supply(15 kilowatt) of electricity in the Battery Box or from a power generator(e.g. Coal Generator).
- First, set up your missile launcher by placing a launcher platform behind a launcher screen(and optionally a Launcher Support Frame, which increases the accuracy of your launched missiles).
- Connect a conductor(e.g. Copper Wire) to the screen of the missile launcher.
- In the GUI of the launcher screen, you will see the amount of electricity stored in the launcher.
- Once the launcher is fully charged, you may place your missile in the launcher platform by right clicking on the launcher platform.
- Set the destination of the missile launcher either by typing it in or transferring it with a Radar Gun. More information about that can be found on the Remote page.
- Power the screen of the missile launcher with a redstone current and your missile should be on its way!
Compatibility
ComputerCraft
The Launcher Control Panel implements the ComputerCraft Peripheral API and can be controlled by ComputerCraft Computers using the normal peripheral.wrap(SIDE) function. Currently the following methods are provided by the Launcher:
- launch() - Fires the missile.
- canLaunch() - Returns whether the launch platform is able to launch.
- getMissile() - Returns the name of the loaded missile in the launcher platform or 'nil' if empty.
- getFrequency() - Returns the currently configured frequency for the Laser Designator.
- setFrequency(int freq) - Change the Laser Designator Frequency to freq.
- getTarget() - Returns the current target as triple x, y, z.
- setTarget(int x, int y, int z) - Set the new target.
AssemblyLine / RedPower
The launcher platform inventory can be accessed via the central bottom part of the platform. Manipulators (Assembly Line) or Tubes (RedPower) can feed Missiles into the platform from below automatically rearming the missile launcher.
Video Tutorial
See also
- Rocket Launcher - Launch missiles directly from your inventory!
| |||||||||||||||||||||||||||||||


